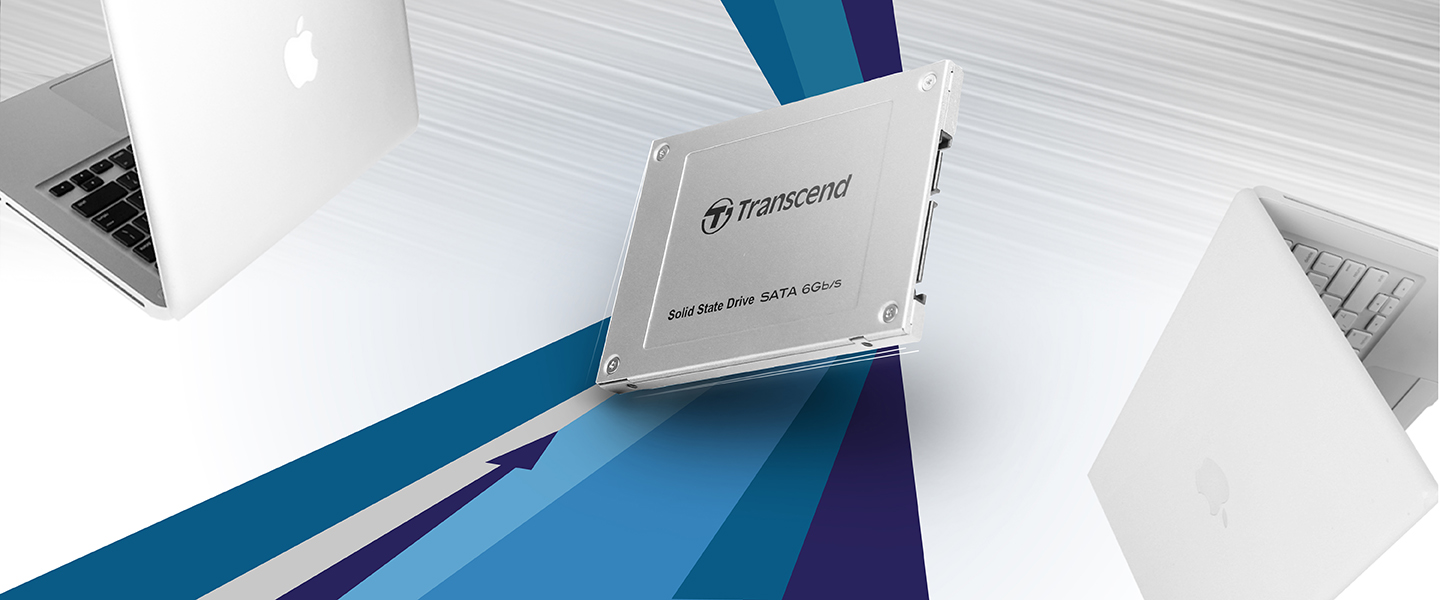
Not giving up on that old MacBook? Here is a way to breathe new life into it.
How would you like to dust off that old, sluggish 2008 MacBook and make it fast again? A major reason for any device to slow down over time is internal storage’s wear and tear due to the hard drive’s constantly moving internal components, as well as shocks and motion, accelerating the aging process. Replacing an old HDD with a new one may sound like a cheap and quick option, but in the long run, HDD is destined to fail even quicker due to the higher temperatures within an older machine.

This is where SSD comes in to save the day.
The best news about the steps we are about to illustrate, is how easy it is to replace your existing old HDD with an SSD, without losing one bit of your original data.
Similarly to one of our previous posts on
replacing flash storage on newer MacBooks, this post will show you how to replace your internal storage on your older machine, applicable to MacBook, MacBook Pro and even Mac Mini models released between 2008 and 2012. The Trancend JetDrives can be purchased on-line from PortableOne.com
The steps involve opening your Mac device. If you are unfamiliar with how to do this, we recommend watching this video from Transcend, which shows the entire procedure, one step at a time.
Step 1: backing up all your data
As in every DIY project, safety comes first. It’s recommended to backup all your data on an external drive before attempting any of the following steps.
If you are replacing your old HDD with a Transcend JetDrive, the added bonus is to be able to use Transcend’s included external SDD enclosure, which connects to your MacBook via USB.
Once the drive is connected, the recommended procedure is to boot your Mac into Recovery Mode. Just hold down Command+R while switching on your Mac.
In OS X Utilities, click on Disk Utility, then Continue. Select the JetDrrive and click on Erase, which will erase any data on the new SSD you are about to replace your old HDD with.
Next, select your old HDD and click on Restore, to access the options to copy all your old content onto the new JetDrive SSD. To do this, click and drag the JetDrive icon into the Destination Folder, and click Restore. At which point you will be asked if you want to erase all content from the new drive, and replace it with the data from your old drive.
Once the process is complete, shut down your Mac and roll up your sleeves. Time for...
... Step 2: Remove the old drive.
This is where we get our hands dirty. Also, these steps apply to both the 2008 and 2012 MAcBook models, but may slightly vary for the Mac Mini, so bear that in mind.
Ensure that the power supply is disconnected, then use a +00 screwdriver to remove all screws on the back cover.
Once the cover is off, locate the battery connector, which is the flexible black connector that sticks out from the... battery. Once the battery is unplugged from your MacBook (no need to remove the whole thing), locate the HDD, which on most MacBooks is on the left side, near the battery.
If there is a black plastic bracket running alongside the hard disk, remove its screws and carefully extract it. This will allow you to pull the plastic tab that sticks from the side of the drive, and lift the HDD off its cradle. To completely remove the HDD, disconnect the SATA connector.
Once the HDD is free, remove the plastic pull tab, and attach it to the JetDrive SSD. Watch the direction of the drive, so that the pull tab roughly matches its original location.
Step 3: Out with the HDD, in with the SSD
We are now ready to replace the empty spot left by the old HDD, with the new JetDrive SSD. This is just as easy as attaching the new drive to the SATA connector. The plastic bracket originally securing the old HDD will fit the new SSD just as the old one did.
Replace the back cover on your Mac, taking care of not tightening the screws too hard.
Step 4: Enjoy an additional external drive as an added bonus
Let’s not forget, we still have the old drive, outside of our MacBook! By connecting it to the SATA interface adapter included with the JetDrive’s enclosure, let’s simply slide the old HDD into the enclosure, and secure the enclosure with the original screws.
At this point we will connect the old HDD to our Mac, via the USB cable, as added external storage, which, at this point we will be able to low-level format, for an additional boost in performance.
If you prefer to
have your Mac upgraded by the professionals, PortableOne.com offers a wide array of upgrade services specially tailored to your specific needs. To contact one of our specialists, email us at support@portableone.com.