One thing Apple users know to rely on when things go bad with their files is Time Machine, which is a fully-automated backup system that periodically saves every file on their Macs. When a file is accidentally lost of damaged, Time Machine will allow to retrieve an older version.
The same feature is known to Windows 10 users as Backup, however it’s not as popular as Time Machine, and often ignored until things go sideways.
Backup uses File History, which is another feature built into Windows 10. These two features can be accessed through a simple, minimalist interface with almost identical functionality as Apple Time Machine, minus the flashy background and iTunes-esque 3D pagination.
Get started with Windows 10 Backup
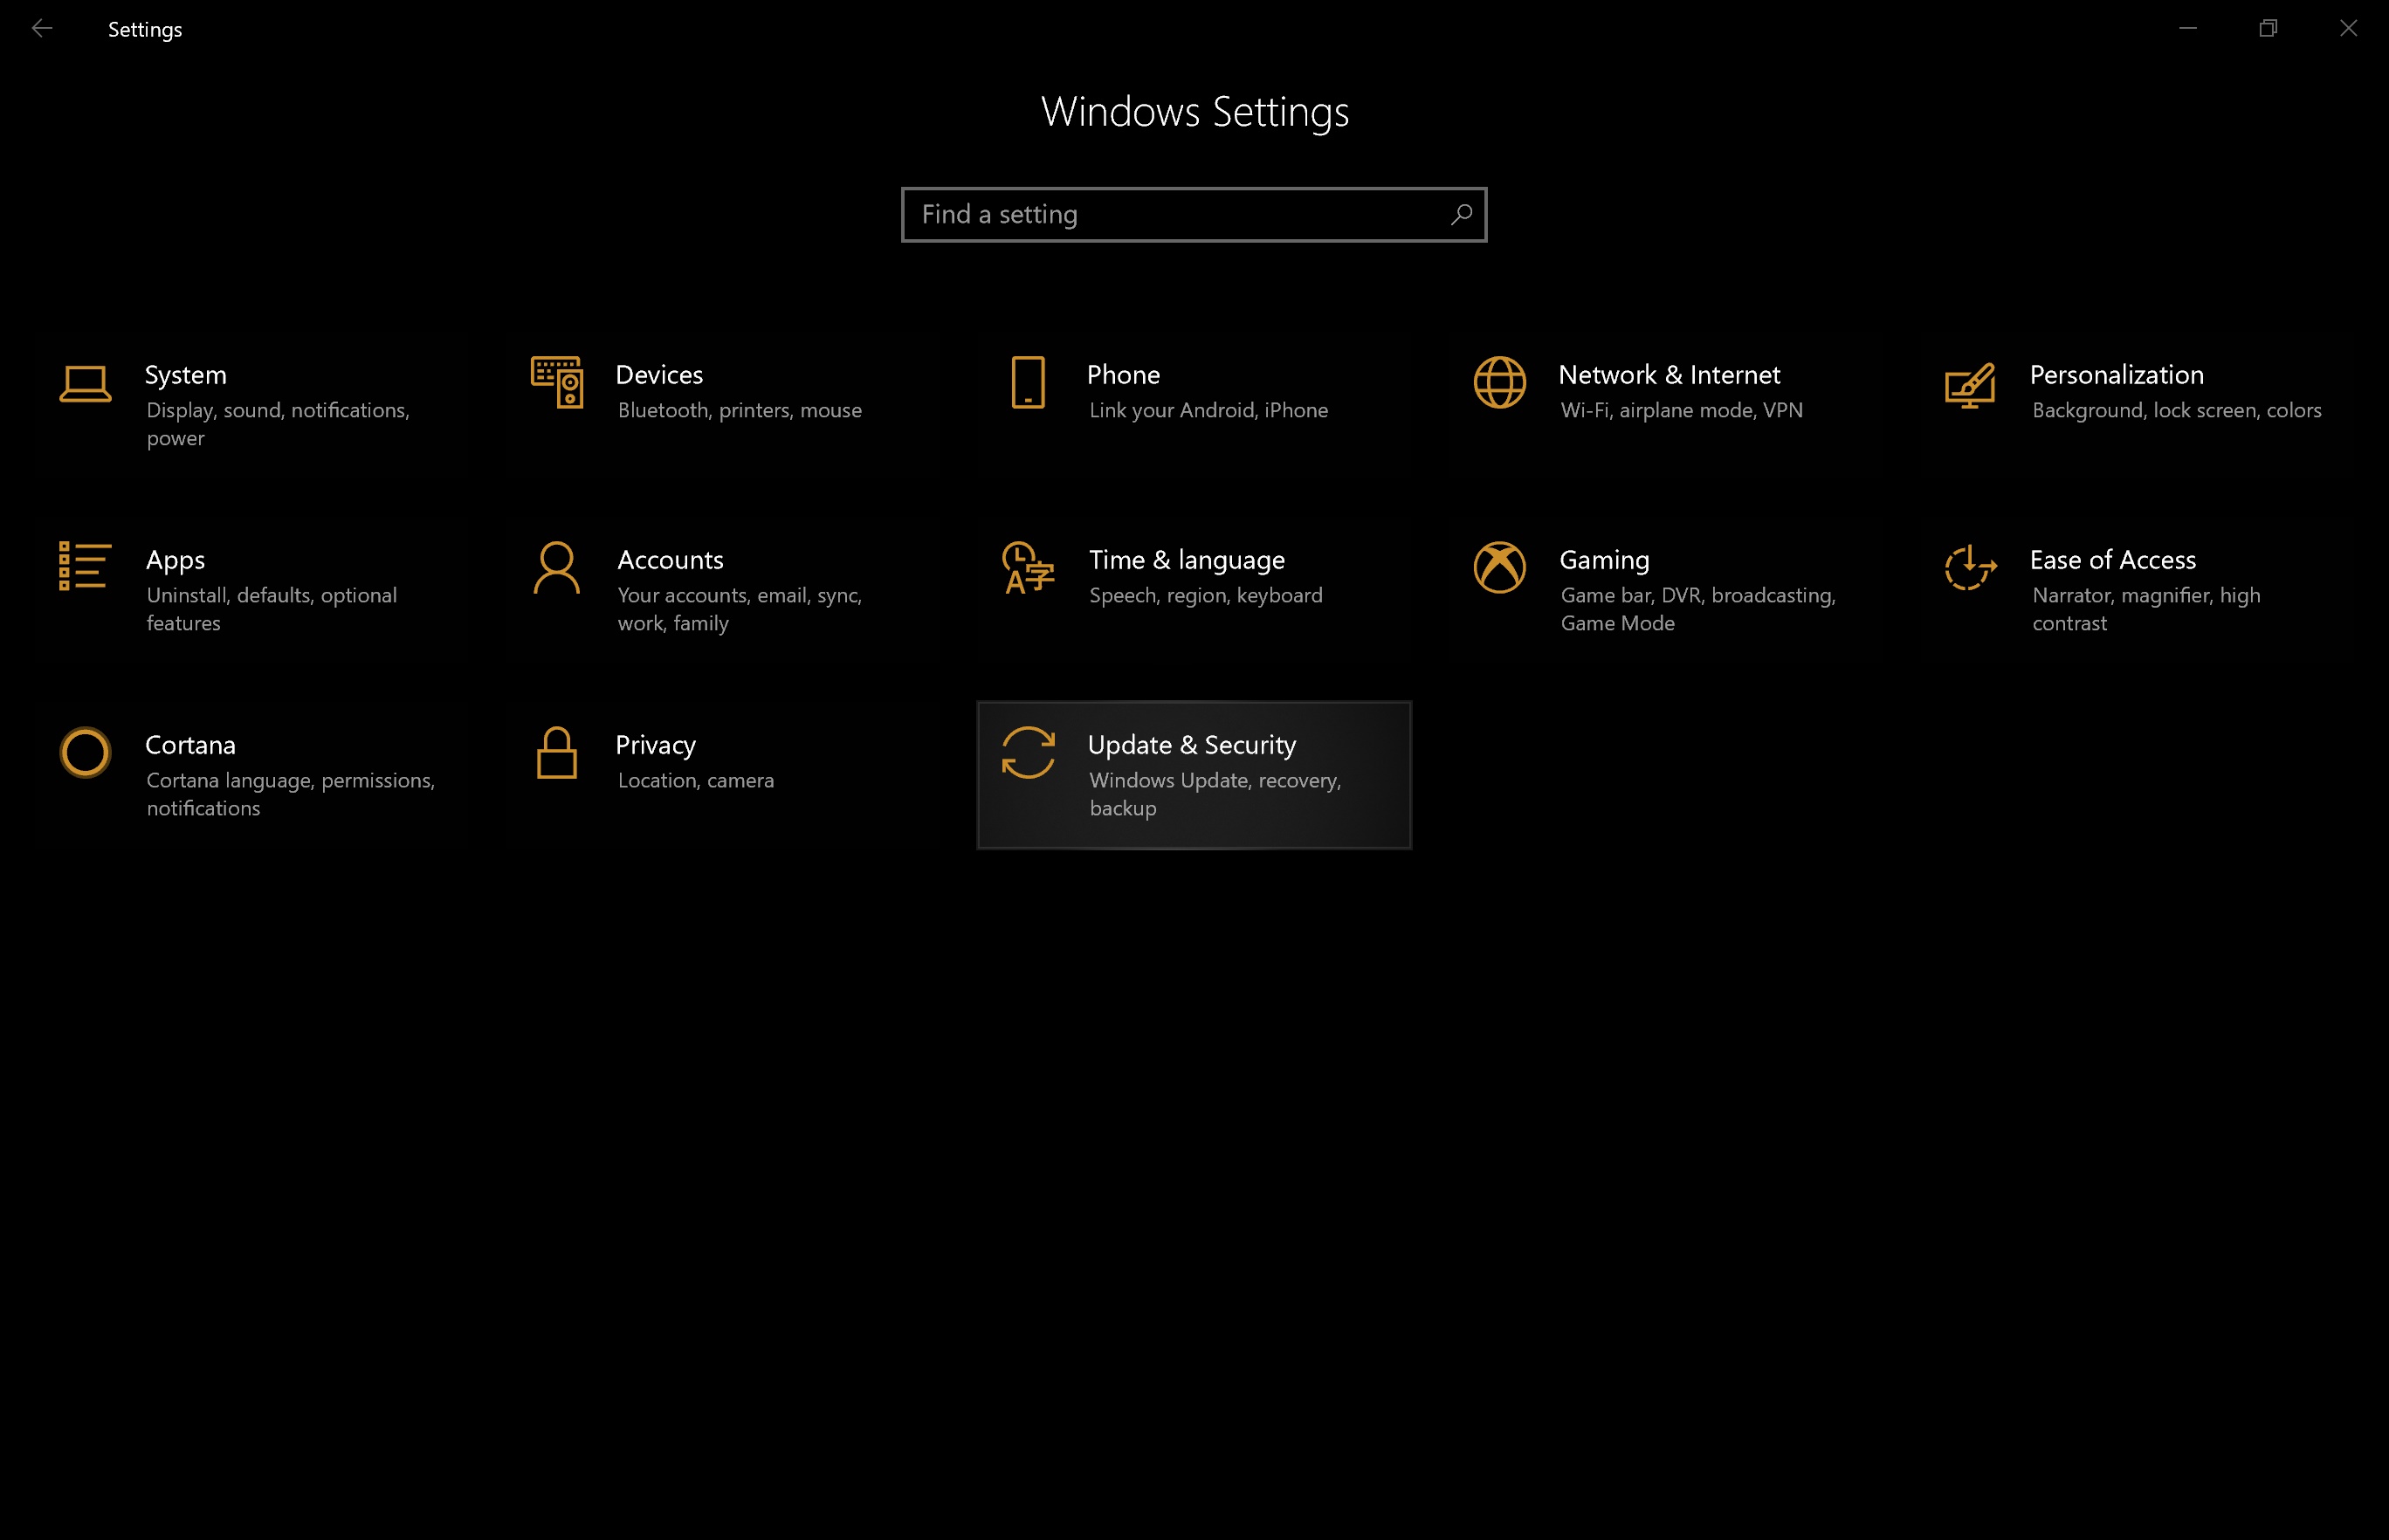
First thing’s first, open the Settings app, which can be accomplished quickly through the Win+I keyboard shortcut, then click on Update & Security.

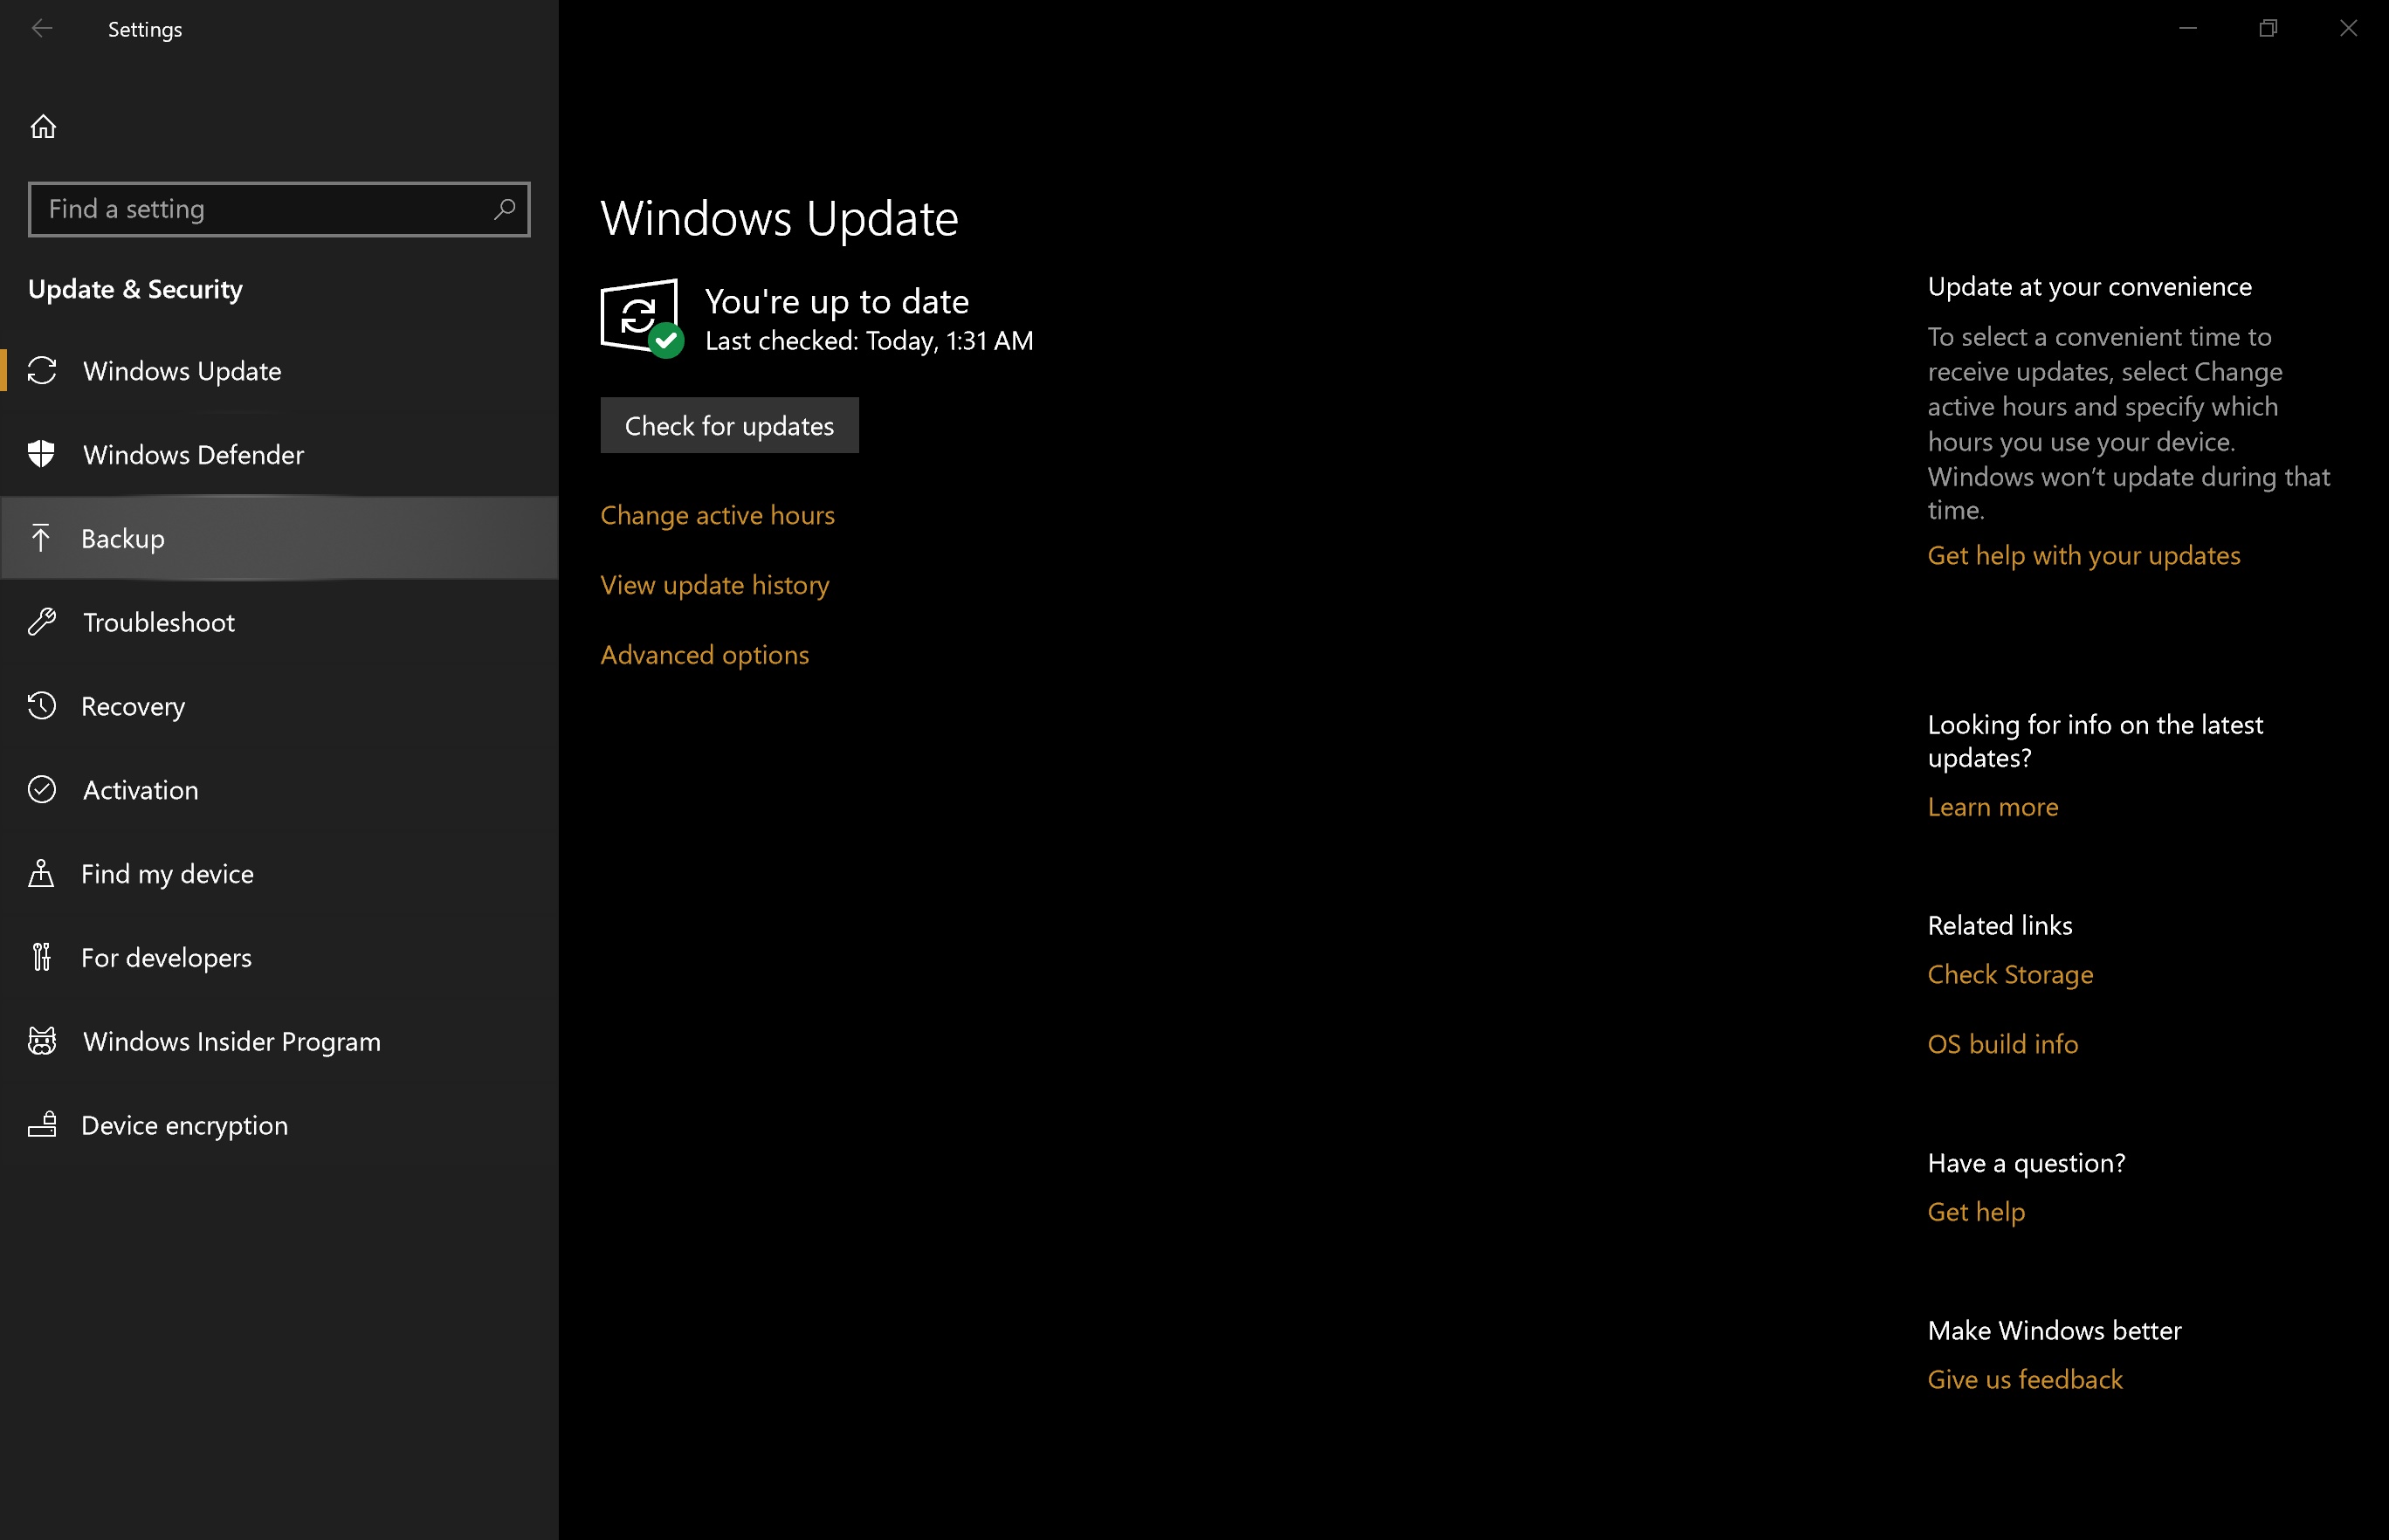
On the left-side menu, click on Backup, and have an external, or additional hard drive ready. Anything over 1TB is recommended, as File History will generate copies of all your files according to the set frequency, which can be anywhere from one hour to once per day.

Plug the hard drive into your PC and click on “Add a drive”, which will open a drop-down menu listing all available drives for backup. If your drive is deemed fit for the job, it will show on this list, at which point you can select it and start using it for your backups.

Once your drive is setup, which is a completely automated process, the switch labeled “Automatically backup my files” becomes available, along with the link “More options” directly beneath it.

This switch lets you access all the Backup options where you can select how often to backup your files, how long backups should be kept, and which folders should be backed up.

Also, if you no longer wish to use the selected drive for backup, simply click on “Stop using drive”.


How to restore files using Backup and File History
Restoring files from older versions is easy. Simply click on the link “Restore files from a current backup” to open the File History window.
As mentioned earlier, File History works exactly like Time Machine, as it displays earlier versions of files and folders, and allows to select them and restore them.
Navigating different points in time can be done using the arrow buttons at the bottom of the window,and selecting the files that you want to restore.


Next, simply click on the green button to restore a selected file or folder.