How to get the most of Mac OS X Finder
Using Finder is about as easy as it gets when needing to navigate files and folders on a Mac, but how many users truly do take advantage of all that Finder has to offer? Most consumers may think that delving deeper into a Mac’s settings is something that requires the mentality of a power user, however there are a few advanced tips and tricks that can be accomplished easily, by any user, to dramatically increase productivity when using Finder.
File Info
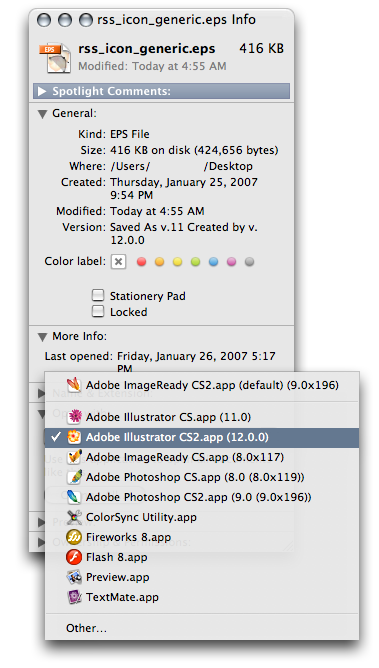
When needing to transfer files to a different location, or check the file size of a file before attaching it to an email, Finder provides an easy way to bring up a comprehesive list of information about a selected file, called File Info. Typically, most users will bring up this window by right-clicking on a file, and selecting Get Info, which is quick enough for most, however the same can be accomplished by using the Cmd+I keyboard shortcut.
File Path
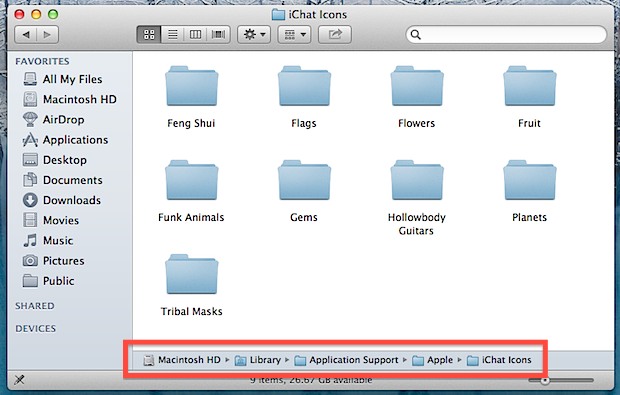
Displaying the path of a file in Finder provides a faster way to navigate between folders, however this option is not on by default. Regular users who need this feature, may toggle it by clicking on View > Show Path Bar. Sometimes users may need to simply toggle on and off the featurre very quickly, and this can be accomplished easily by using the Option + Cmd + P keyboard shortcut.
Customizing the Sidebar
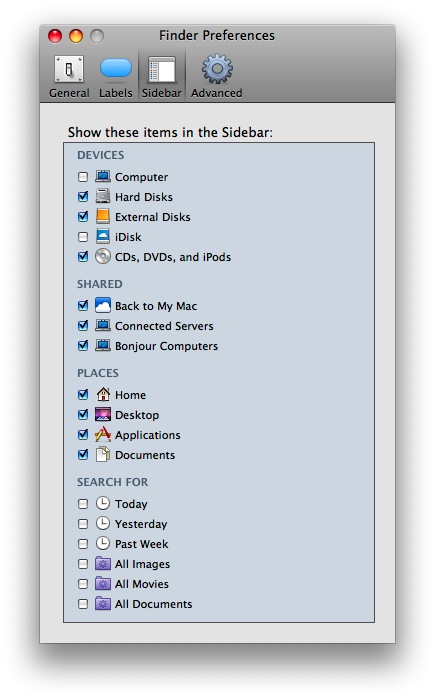
By default, Fnder’s sidebar shows most locations available on the Mac, which can result in a cluttered view, and longer time spent looking for a particular location. Fortunately, the sidebar in Finder can be customized, and unnecessary items can be trimmed easily, by clicking on Finder > Preferences, and then selecting the Sidebar tab, where items can be toggled on or off.
Tabbed Browsing
Much to the surprise of several users, tabbed browsing is possible in Finder. The way tabbed browsing works is similar to what most web browsers do. Each tab is its own separate entity, allowing to open several different locations within the Mac’s folders structure. This can be particularly handy when needing to copy and past files betwen two or more folders, without having to switch between multiple instances of the same view. By using the shortcuts Cmd+T and Cmd+W, we can easily create or close tabs within Finder.
File Preview
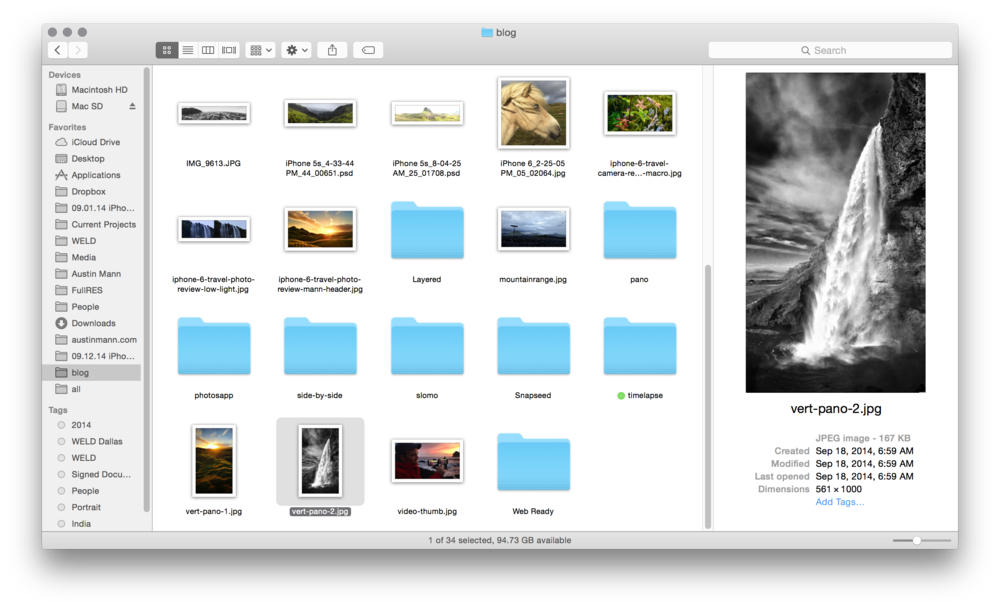
In most cases, file preview is not only handy when browsing a folder filled with images, but also when wanting to take a quick peek into all sorts of multimedia files, like video clips, audio, and documents. The file preview panel can be activates easily, by selecting the file to preview, and pressing the spacebar on the keyboard. Toggling off the preview is done just as quickly by pressing the spacebar again.
When toggling the preview panel on a folder with several items, such as images, the preview panel will feature a slideshow of all image content within that folder.
Customizing Finder
Finder can be customized to show files and folders in different ways, depending on their purpose. For instance, certain folders can be automatically set to open the preview panel, and others can be set to show a preview within the thumbnails themselves.
The option panel to set these properties can be triggered by clicking on the view menu in the taskbar, and lelecting Show View Options. the same can be accomplished by triggering a context menu, for instance by right-clicking on an item, or through the settings menu (the gear icon) in Finder’s toolbar.

The options available range widely, from customizing the size of the icons, the size of the font, the position of the label, the thumbnail preview, and whether extra information should display.
Promotional message:
Apple Overstock Sale at Portable One
Save up to $200 on the latest, brand new Apple products while supplies last.
Browse all our Apple products on sale and start saving today!