Professionals who use Macs on the job, on a regular basis, often find the ability to take screenshots, as invaluable part of their workflow. Creative professionals, for instance, often need to screenshots portions of their screen when creating mock-ups, or to color-match an item.
Regular users don’t necessarily use their Mac in the same way, and taking screenshots may be a rare occurrence, simply because it’s not part of their routine. With that said, being able to take screenshots can be a valuable tool in everyday domestic tasks.
For instance, during tax season, many people file their taxes online, and receive their documents in a variety of formats, depending on the service of choice. Some receive their documentation as a PDF document, and this can be a problem if a person needs to quickly email or send via instant message, only few selected pages from a lengthy PDF.
On a Mac, taking screenshots is easy, and can be accomplished with a set of quick and handy shortcuts:
- Command+Shift+3 lets you capture your entire screen, and automatically save the captured image as a PNG file on the desktop.
- Command+Shift+4 lets you capture a portion of the screen, by changing the mouse cursor to a corsshair, at which point the user can click and drag over an area of the screen to copy it, and save it as PNG file on the desktop.
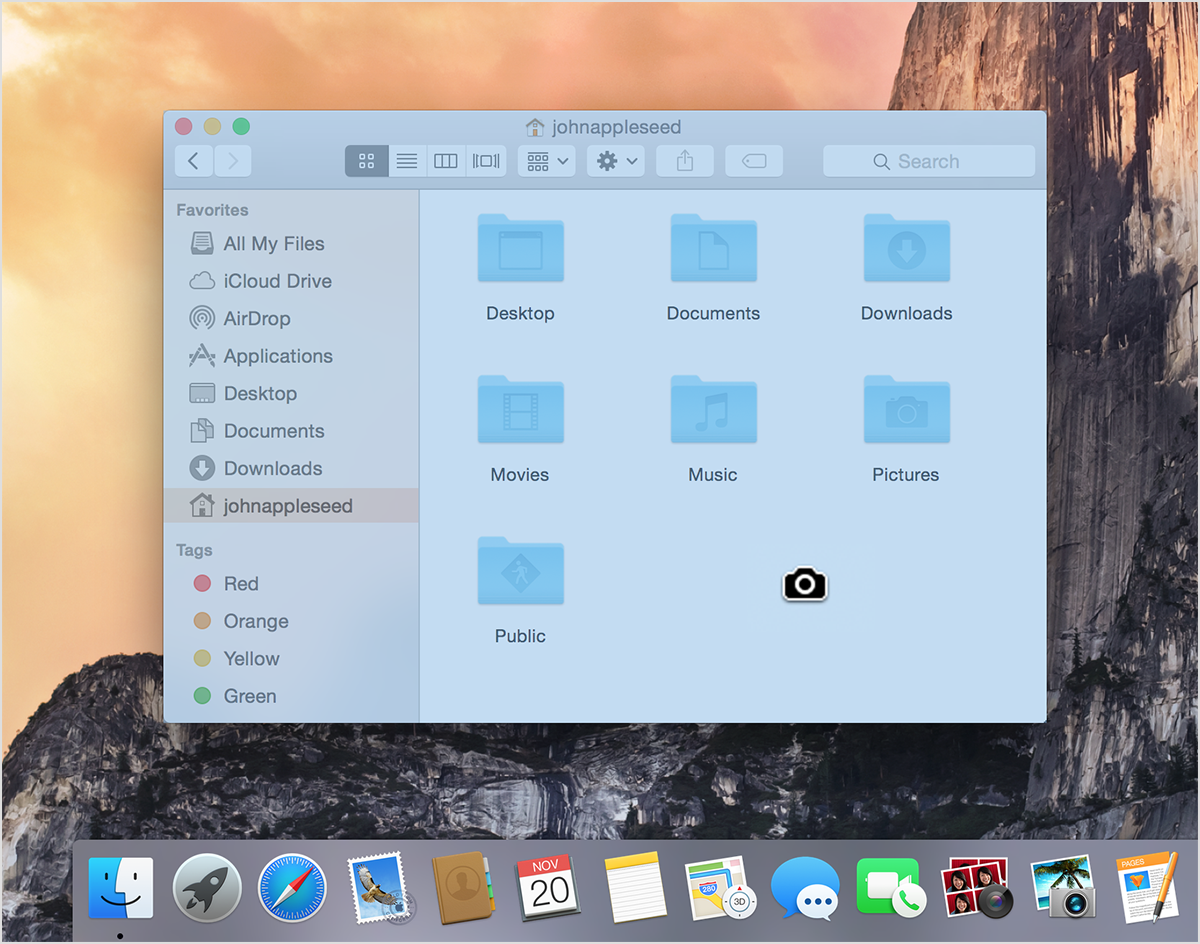
- By pressing the space bar after using the Command+Shift+4 shortcut, changes the cursor from a crosshair to a camera, and allows the user to take a screenshot of a window. To save the screenshot, simply move the camera to a specific window to highlight it, and left-click over it. This shortcut can also be used to capture menus. To accomplish this, simply click and open the menu of choice, for instance any drop down menu from any app, and use Command+Shift+4, and then Spacebar to highlight the menu and capture it by left-click.
- Did you know that you can take screenshots of the new MacBook Pro’s Touch Bar? This can be accomplished easily by using the shortcut Command+Shift+6, which will save the captured image on your desktop.
Saving screenshots on a daily basis can create clutter on your desktop very quickly. If you plan to take screenshots that need to be edited in an image manipulation program or other editing application, try Control+Shift+Command+3, to save the entire screen in your clipboard, ready to be pasted in your favorite editor. It goes without saying that substituting the Command key for the Control key will work in all of the above instructions. For instance, using the shortcut Command+Shift+4 will result in the crosshair selection to be saved to your clipboard, instead of the desktop.
One caveat of taking screenshots is that some applications, such as DVD players, and video streaming apps may prevent the shortcuts from working, due to copyright restrictions.
Ready to shop?
If you are looking for the perfect MacBook, PortableOne has you covered with a great selection of Apple MacBooks, as well as the newly unveiled 13 inch and 15 inch MacBook Pro with TouchBar.