How to sign a PDF document in OS X

Among the few things from the days of old, that are still very much in use today, even in the face of relentless technological progress, the hand-written signature seems to stand the test of time with amazing resilience.
The hand-printed signatures made it through centuries, as one of the most common forms of personal identification, if not the most common in human history.
Ever since the inception of electronic documents brought to light the practice of electronic signatures and over-the-web notarization, one recurrent problem has shown its ugly side, quite frequently: what is the least troublesome way to sign and email a document without having to print it, sign it and re-scan it?
With a Mac OS X device at our disposal, fitted with a FaceTime camera, is actually quite easy to sign a PDF document, as well as any other supported graphic formats, including PNG, JPEG, GIF and BMP.
Apple Preview makes this procedure even easier, as it’s a wonderful little application that is capable of opening and editing image files as well as PDF documents, virtually on the fly.
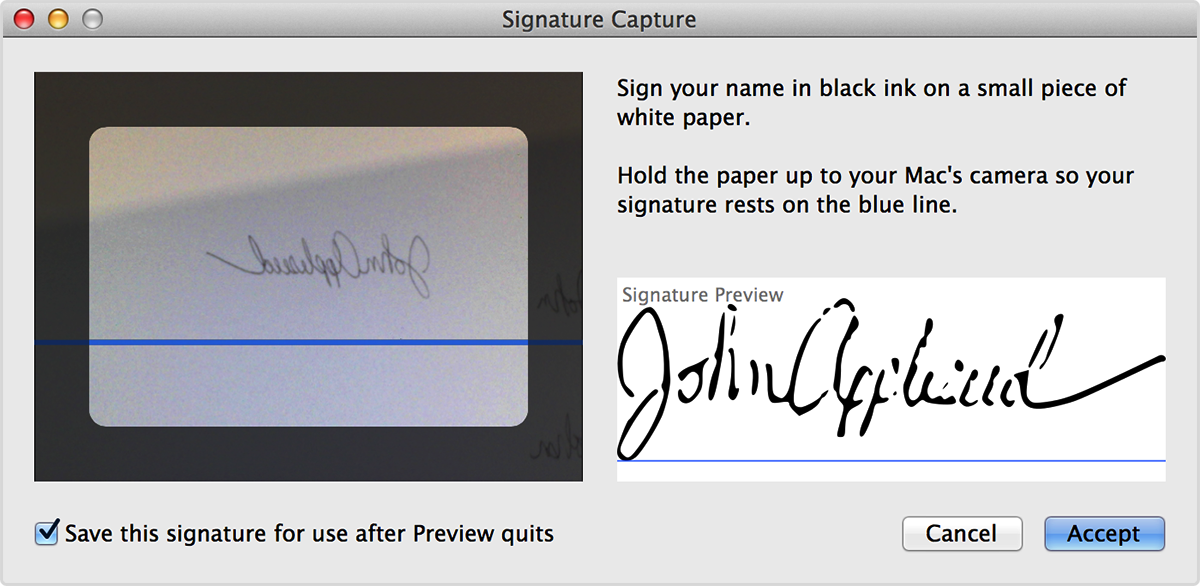
When opening a PDF document, as well as other file formats, an “Annotate” button is available on the toolbar. By clicking on it, we will be able to select the “Sig” (as in “Signature”) button on the same tool bar. the button also features a drop down box that allows to select different ways to enter a signature, including the option of taking a photo of a signature using the FaceTime camera!
At this point, we sign a blank sheet of paper and prop it up for FaceTime to capture. This doesn’t merely take a picture and saves it in a common folder. It actually saves the photo as a signature that can be re-used in the future, among a collection of previously stored signatures.
Once the signature is saved, all it takes is to click on “Sig”, above the PDF document, and choose where on the PDF the selected signature should appear.